Making an image ready for print can be confusing! The guide below will explain how to make a design that will translate well to print. We will cover file size, positioning, product specific requirements and image rendering. You can use this guide to create universal designs, that suit cases for many different phone models.
This guide applies to you if you:
File requirements
First, let’s start with a list of requirements.
| Minimum resolution | 2300 x 2300 pixels |
| Maximum resolution | 6000 x 6000 pixels |
| DPI | 300 |
| Color space | AdobeRGB (sRGB also works, not recommended) |
| File extension | PNG |
Positioning your design
Depending on the product of your choosing, the positioning of your design will need to be altered slightly.
Back printed cases
For back printed cases, an image is cut on the left and right sides, as the product is portrait oriented. Therefore, any important parts of the design should be in the center. The left and right side of the image should be considered bleed area. That way, when we cut the image from the center, you will not lose any important parts of the design.
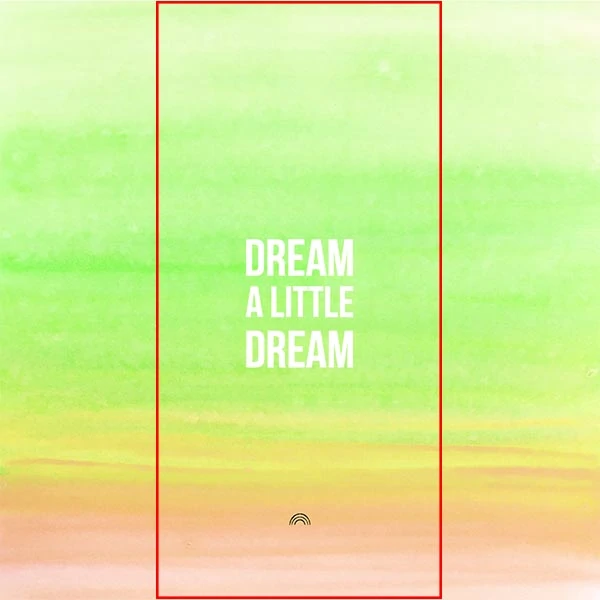
The way it will be cropped
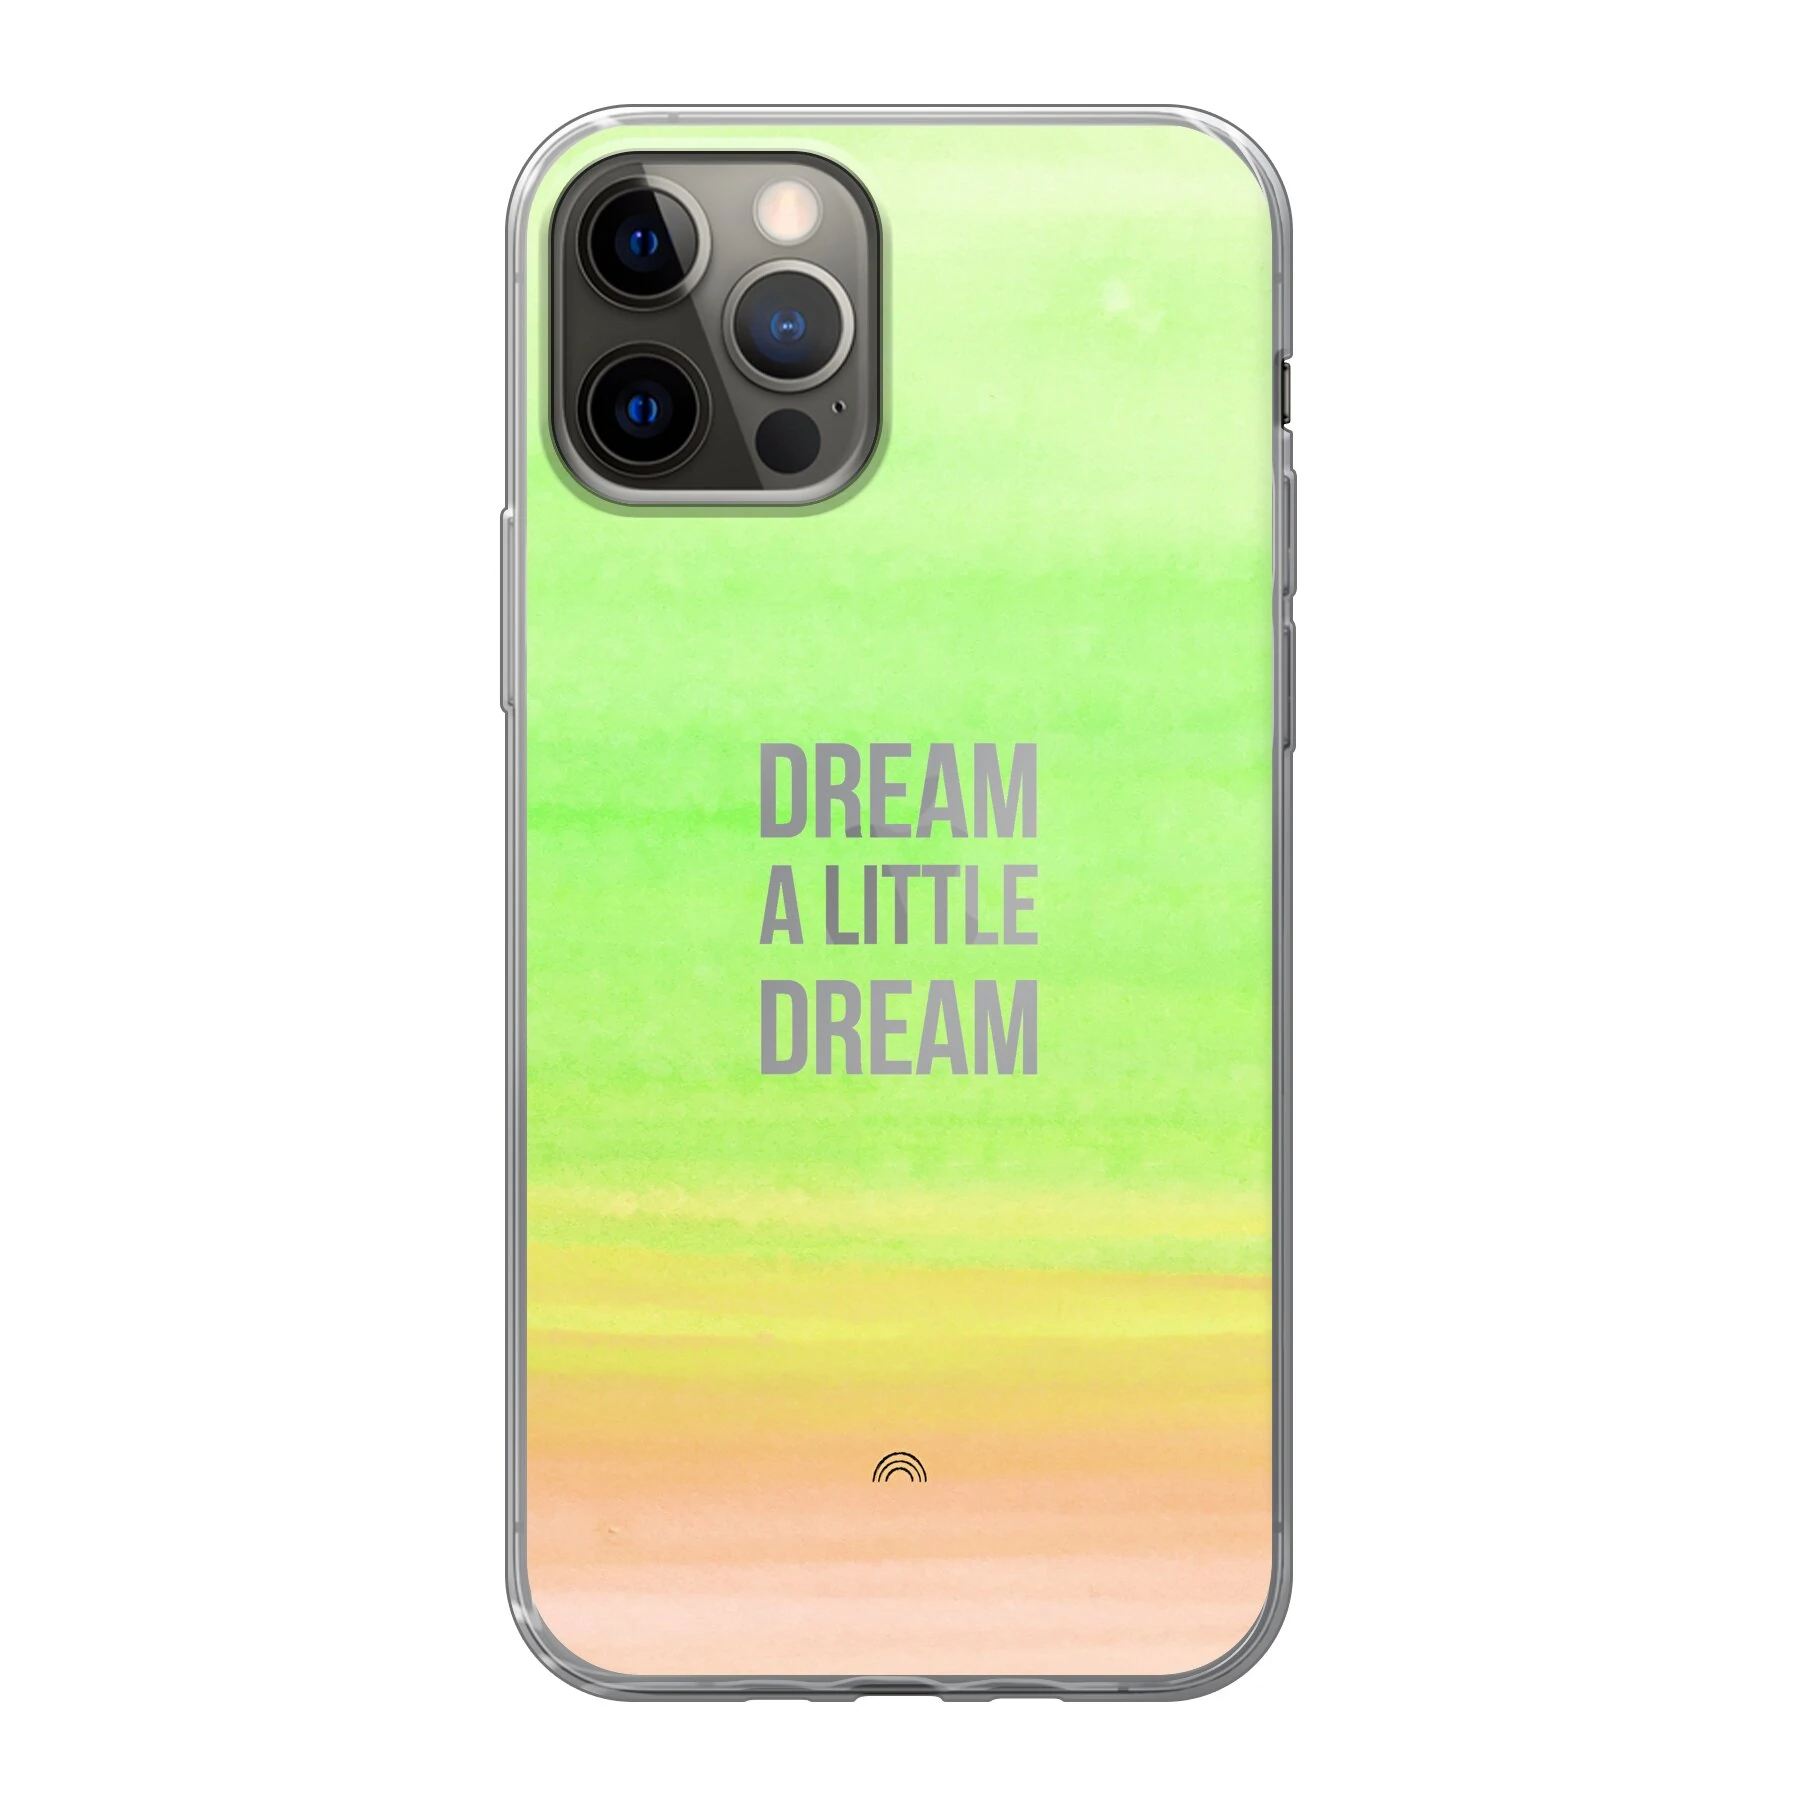
What it looks like on a case
Fully printed hard cases
With fully printed cases, the sides of the case are printed as well. Therefore, they are cropped a bit wider in comparison to back printed cases. It is important to make sure that the design is large enough to cover all this surface. Similarly to back printed cases, there should be no important parts of the edges of the design. It is also important to note that our fully printed hard cases are printed using manual techniques. Therefore, we cannot guarantee that texts or logos are perfectly aligned with the edge of the case.
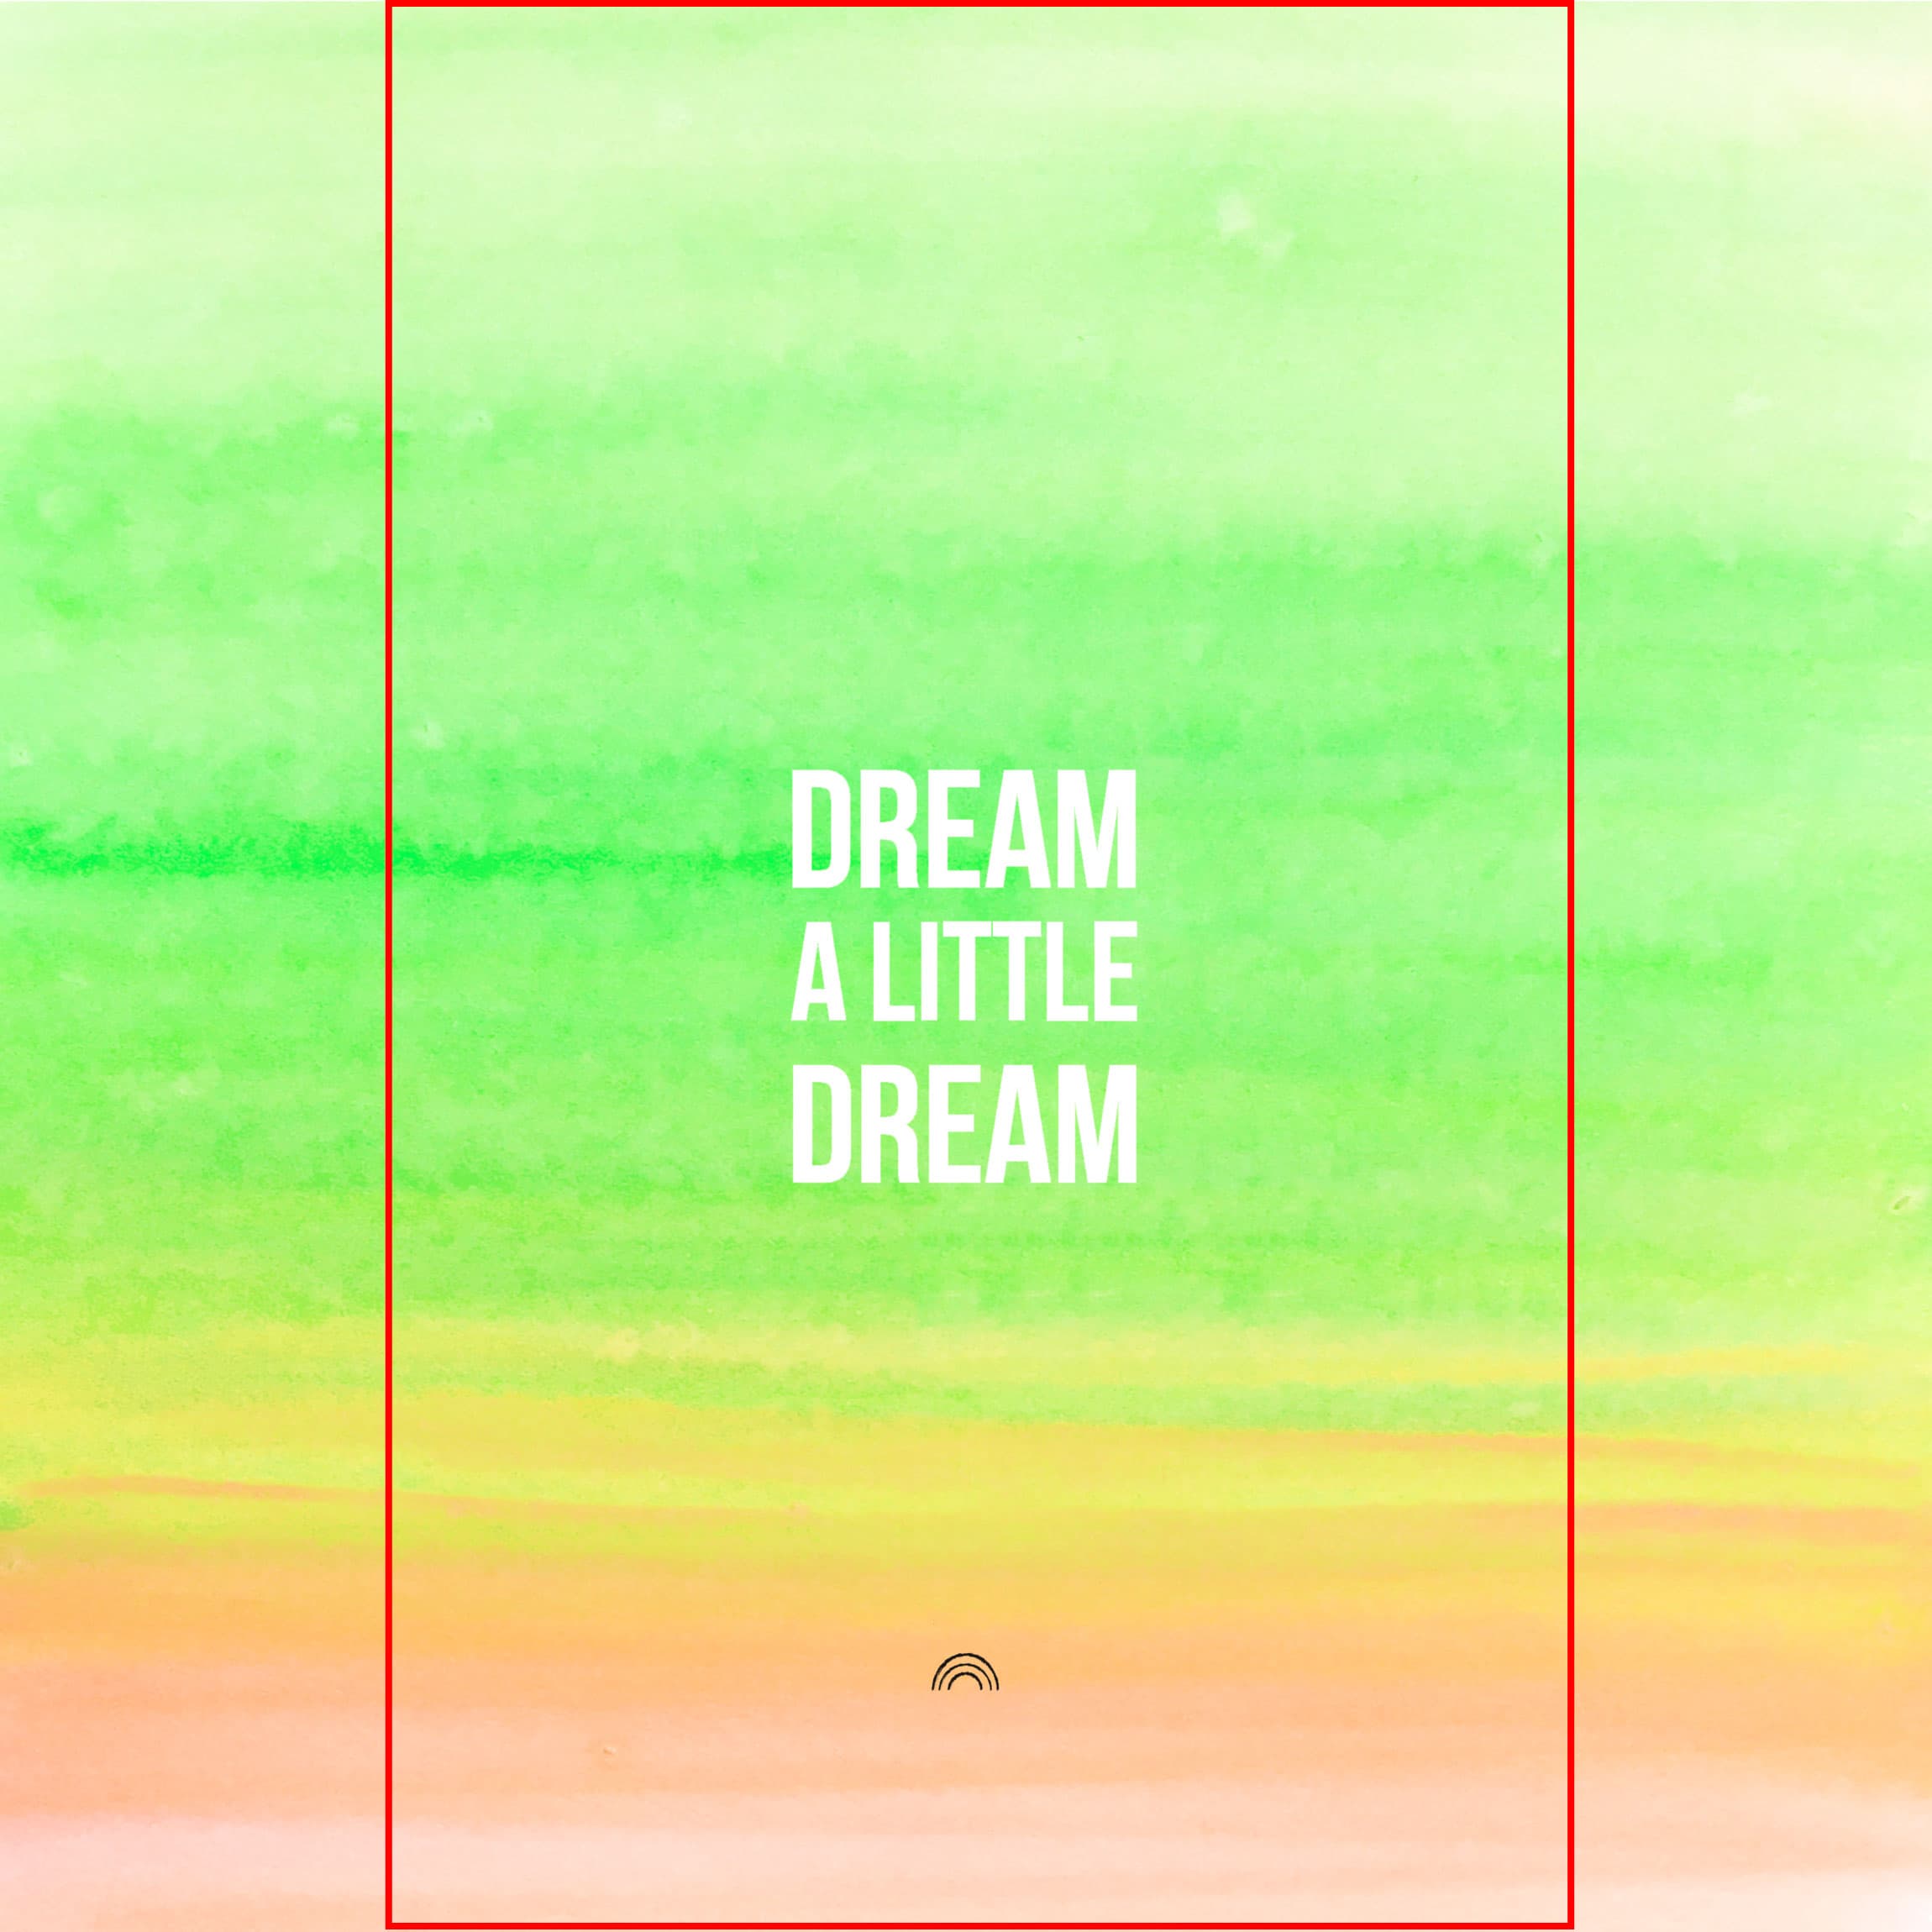
The way it will be cropped
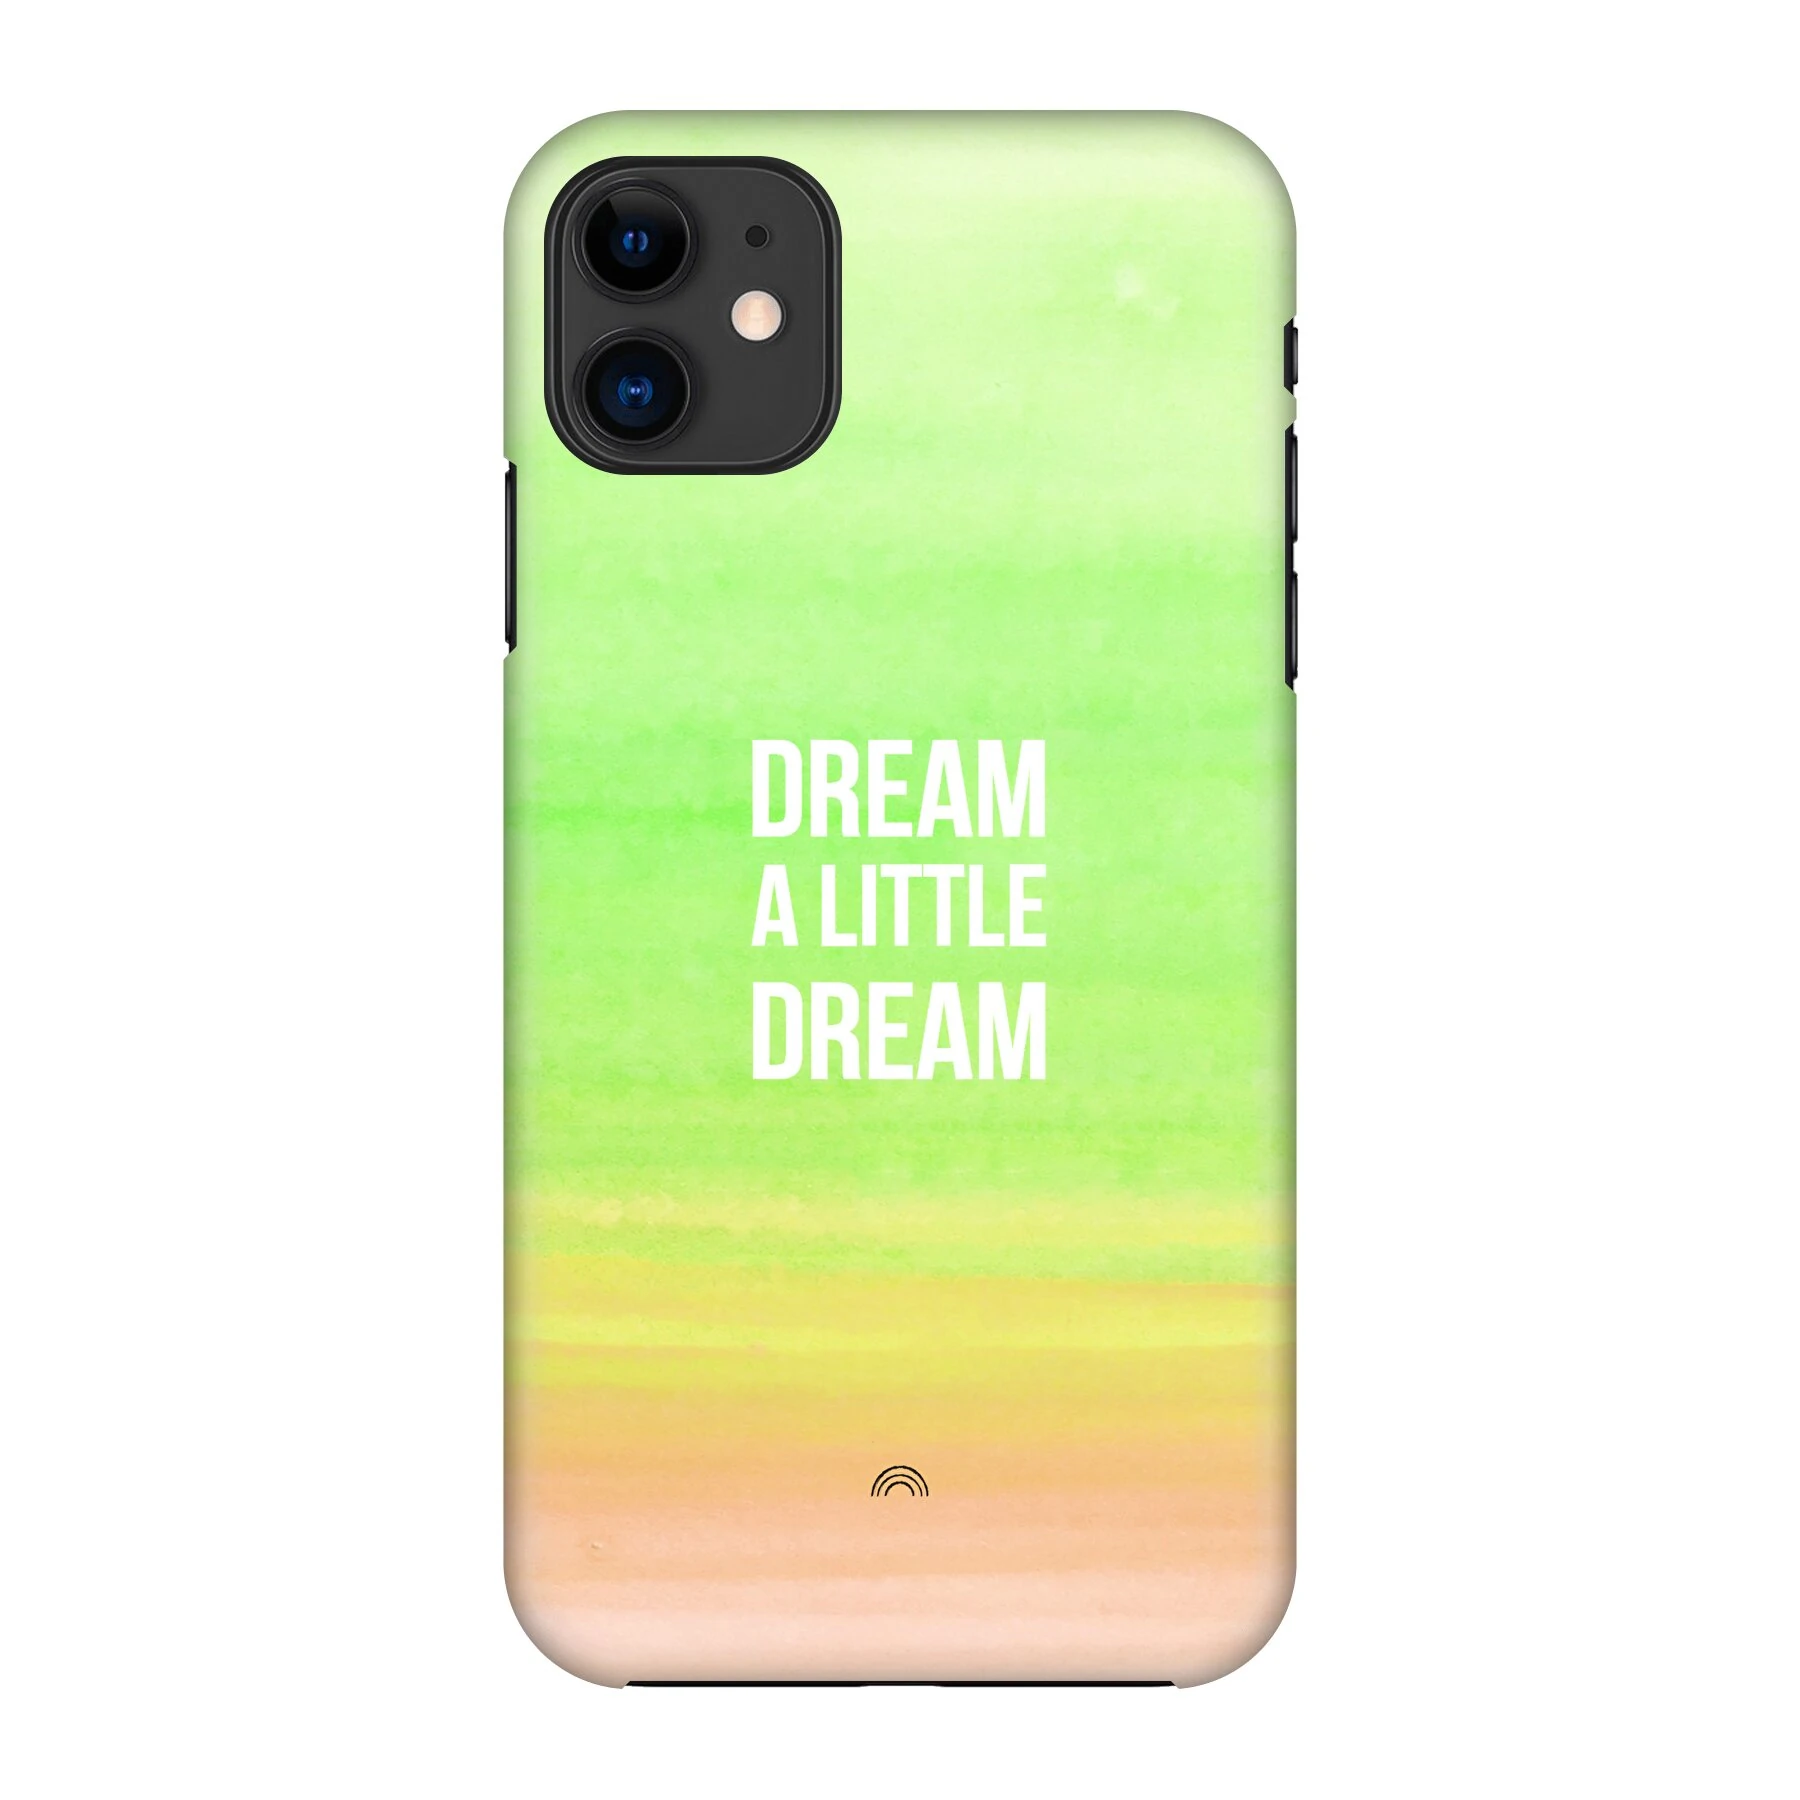
What it looks like on a case
Fully printed wallets
When it comes to fully printed wallets, the important parts of your design should be centered on the right half of the image, as this is the front of the wallet case. The left half of the image will be on the back of the case. Because of this divide, you cannot use the same design that you would for a back printed case, or a fully printed hard case. The only exception to this is if the design consists of seamless patterns without logos or specifically positioned content.
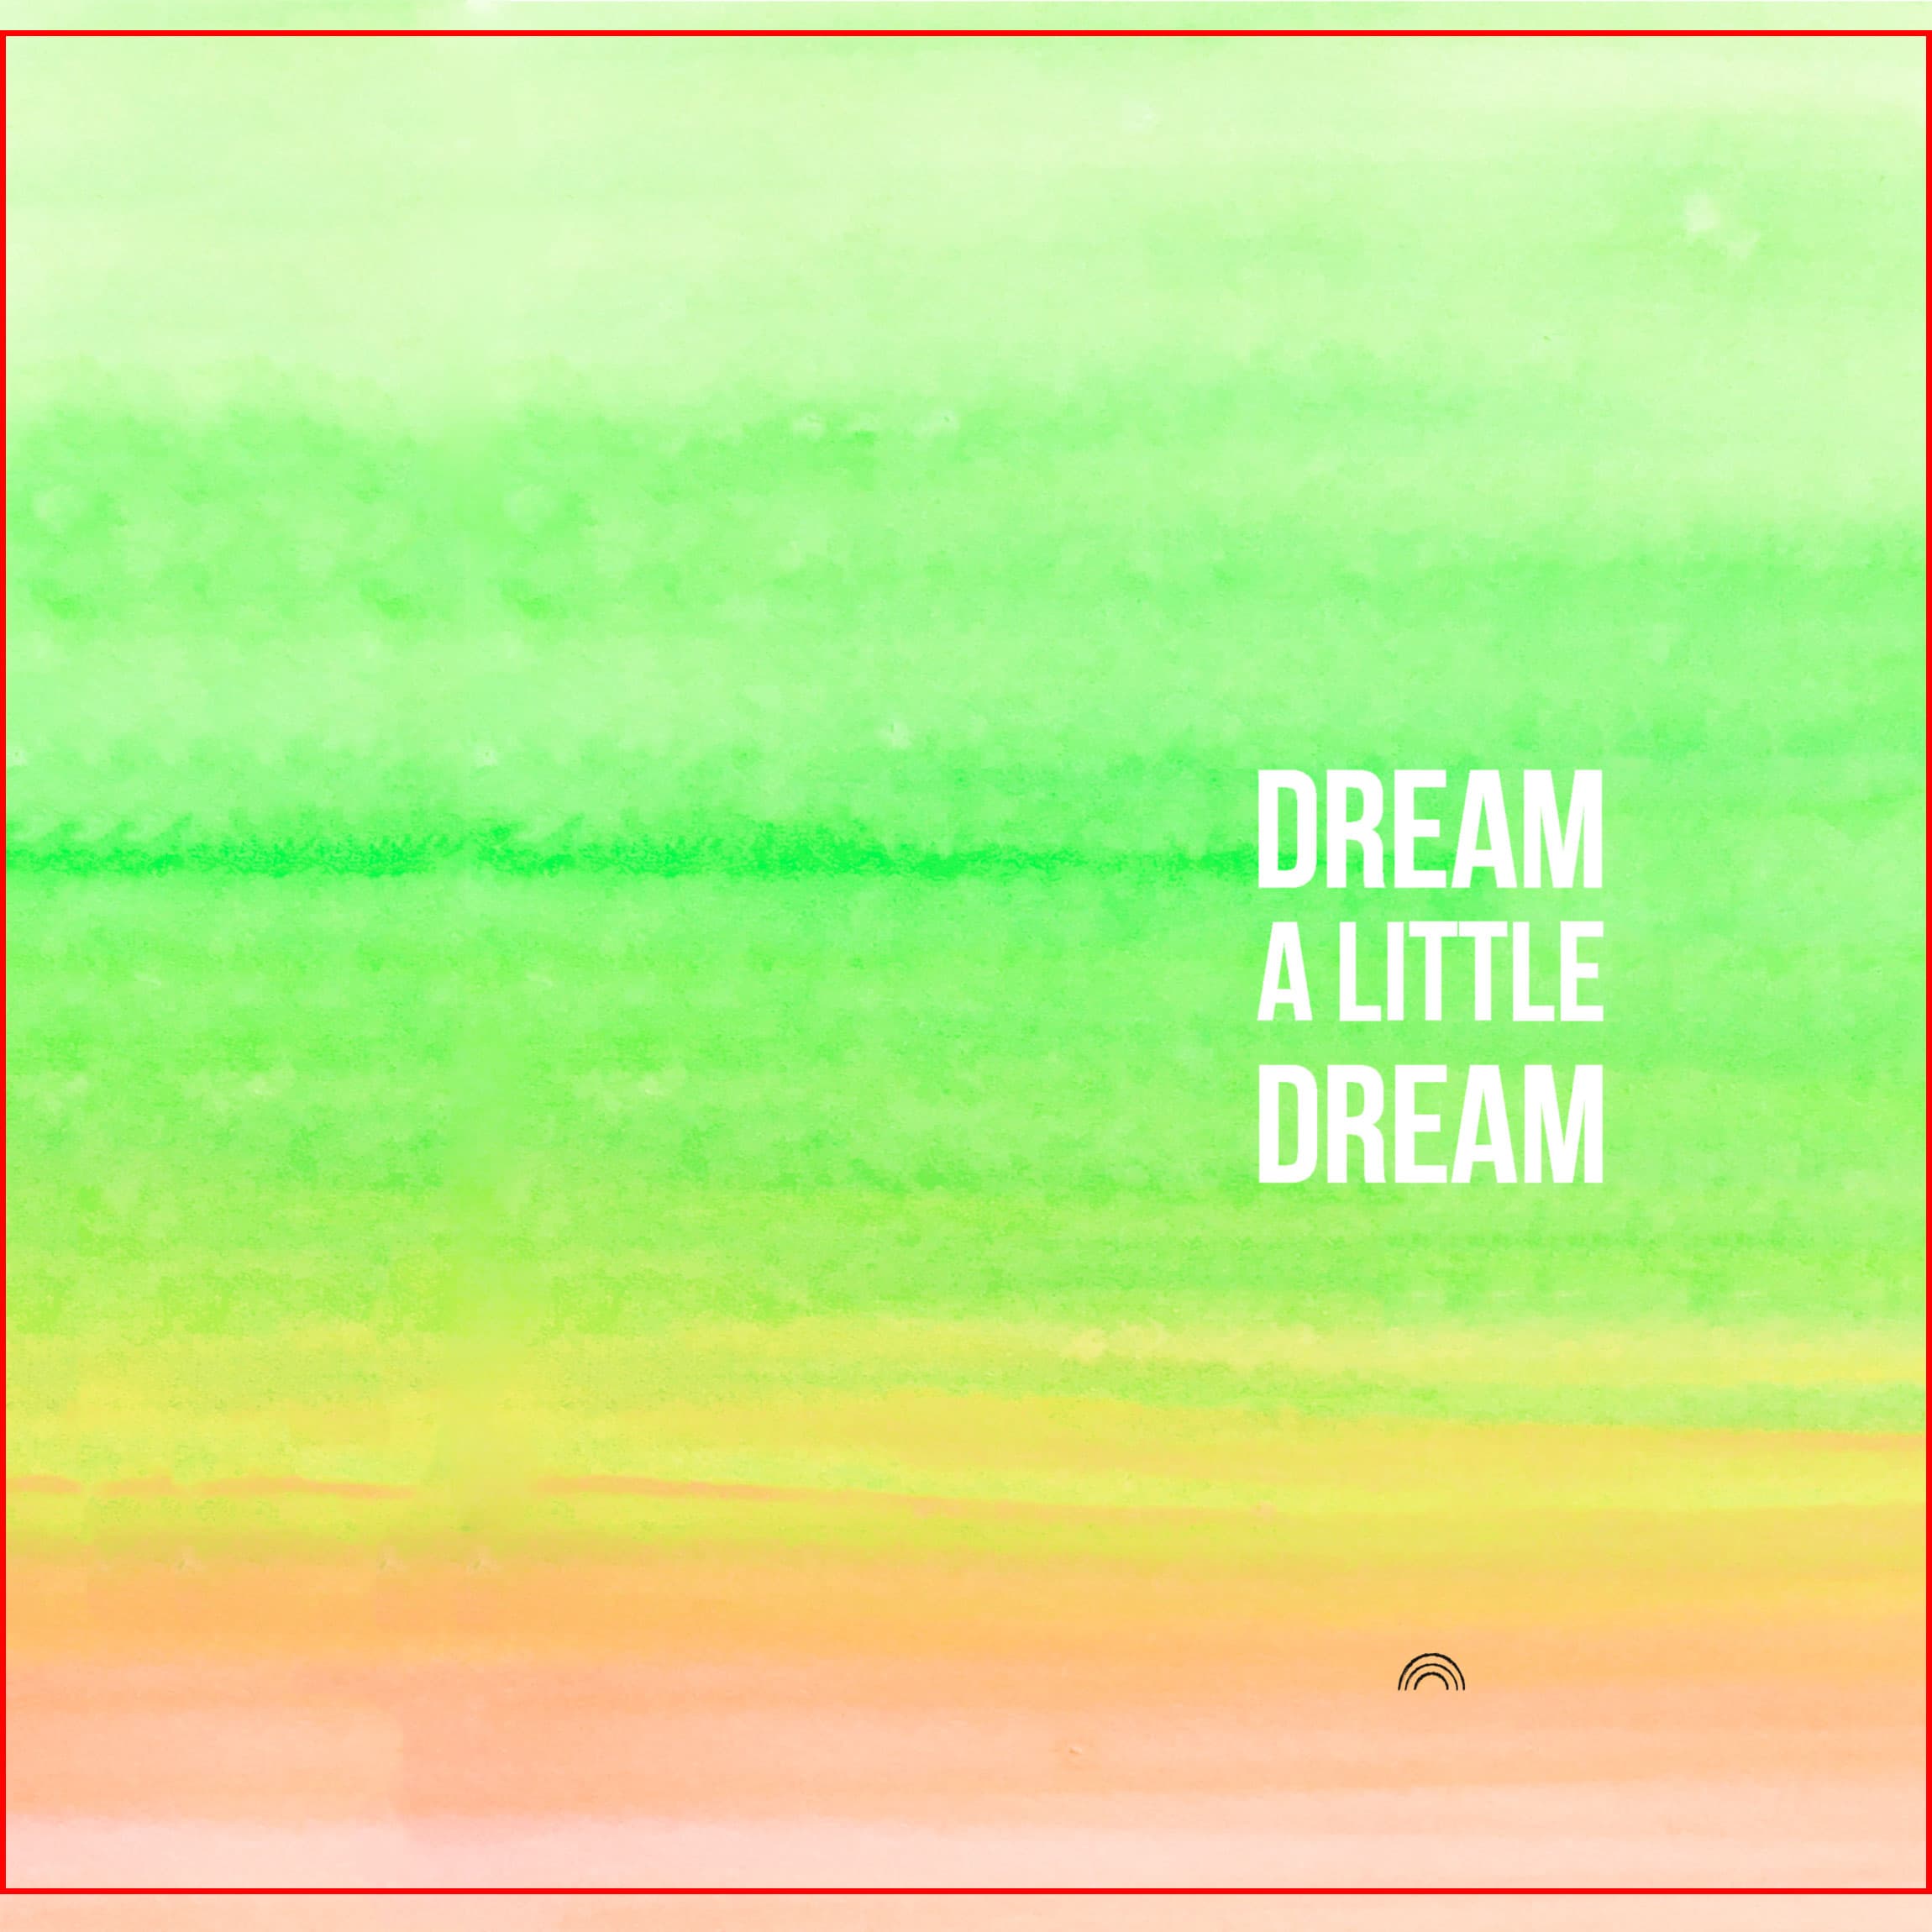
The way it will be cropped
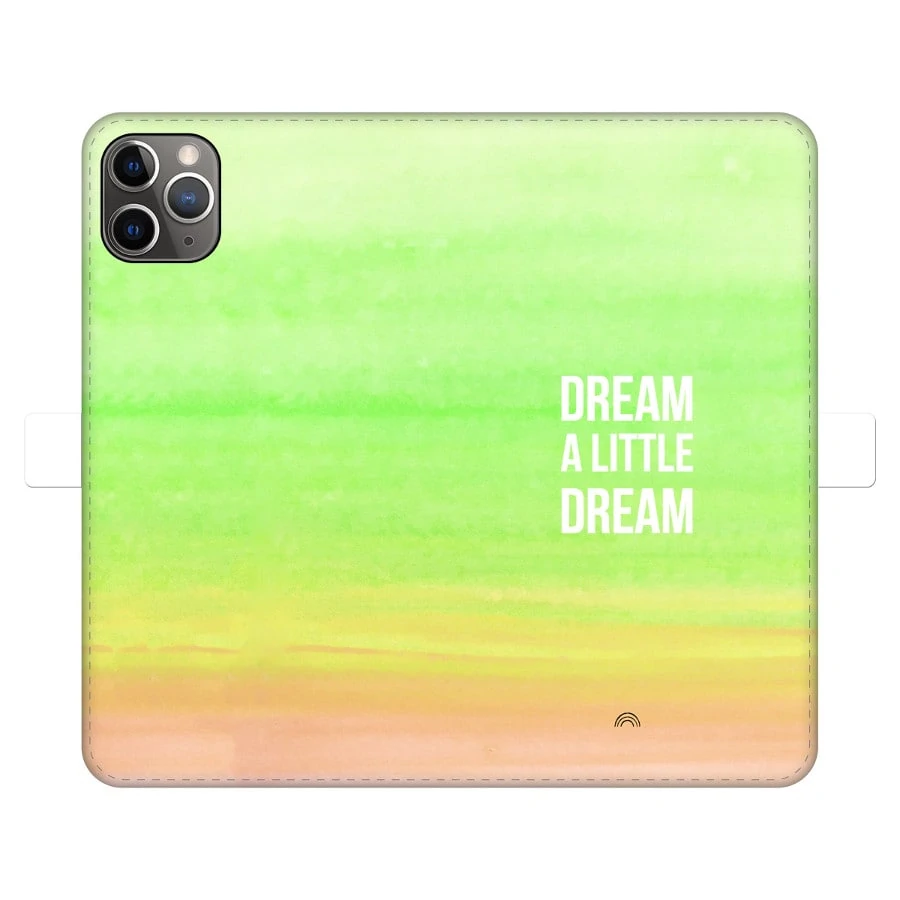
What it looks like on a case
Making a design specifically for one product
While the guide above covers making universal designs, you might want to make a design for one specific phone model. This is the most labour intensive way of designing, but it does allow you the most control. To do so, you first need to look up the print dimensions in millimeters of the product for which you are making the design. You can find this information in our productlist. Next, open a Photoshop document with that size, at 300 DPI. Now you can make your design! Do keep in mind that you will still need a bleed area, and should not put any important design elements at the edges of your design.
Semi-transparent designs
Unlike paints, inks are transparent. Therefore, we add a white base layer to each print. Beneath every coloured pixel, is a white pixel, ensuring a non see-through and vibrant result! As we can control the opacity of each pixel, it is possible to create semi-transparent and even gradient effects. Of course, it is possible to have completely transparent parts in your design as well.
Testing if your design is correct
If you want to see your design on an actual case, you can use our product image renderer. This tool uses accurate print sizes, thus allowing you to visualise what the product will look like once it is printed. In order to use our product image renderer, you need a Printeers webshop account, which is completely free and easy to create!
